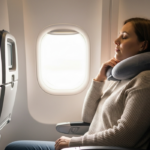
You’ve just arrived at a sun-drenched plaza in Lisbon, a misty mountain in Bali, or a quiet street in Savannah—and you have to capture it. But when you post your photo, it doesn’t quite match the magic you felt in the moment. The colors look flat, the composition feels cluttered, and your amazing view somehow looks… ordinary.
Here’s the good news: you don’t need a professional camera, expensive gear, or years of training to take stunning travel photos. In fact, some of the most viral travel shots on Instagram were taken on smartphones. What they all share is intention, technique, and a few simple principles that anyone can learn.
In this guide, you’ll discover practical, actionable tips to turn your travel snapshots into scroll-stopping, envy-inducing photos—no matter your skill level or equipment. We’ll cover everything from using natural light like a pro, to composing shots that tell a story, to editing tricks that enhance (not fake) your images. You’ll also learn how to capture authentic moments—not just landmarks—and why sometimes the best photo isn’t of the Eiffel Tower, but of the croissant beside it.
So whether you’re planning a weekend getaway or a year-long adventure, get ready to see the world through a more creative lens—and share it in a way that truly reflects your journey.
It’s Not About the Camera—It’s About the Eye
Let’s start with a myth: “Great photos require expensive gear.” False. While a DSLR offers more control, your smartphone is already a powerful camera—especially newer models with advanced sensors and computational photography. What matters far more is how you see and frame the world.
Consider this: Instagram is flooded with identical shots of the same landmarks—Angkor Wat at sunrise, Santorini rooftops, the Hollywood sign. What makes one stand out? Often, it’s perspective.
Instead of snapping the obvious wide shot, ask yourself:
- What’s the story I want to tell? (Is it solitude? Joy? discovery?)
- What details reveal the feeling of this place? (Steam rising from a café cup, wrinkled hands selling fruit, light hitting cobblestones)
- How can I show something no one else has photographed?
Pro Tip: Turn your phone sideways. Most beginners shoot vertically, but landscape orientation often creates more balanced, immersive travel photos—especially for scenery, architecture, or street scenes.
Remember: your goal isn’t to replicate a postcard. It’s to share your unique experience of a place.
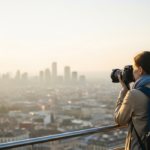
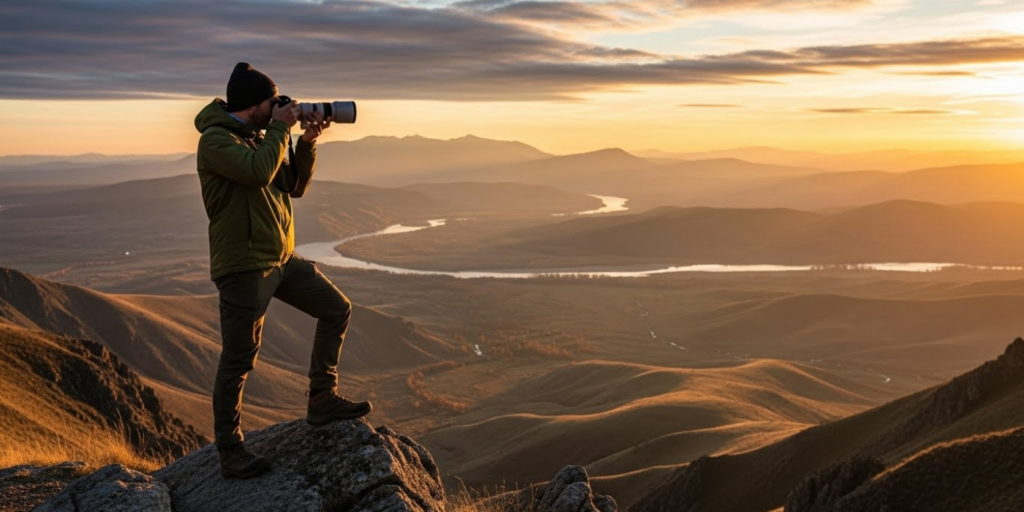
Master Natural Light—The Secret Ingredient
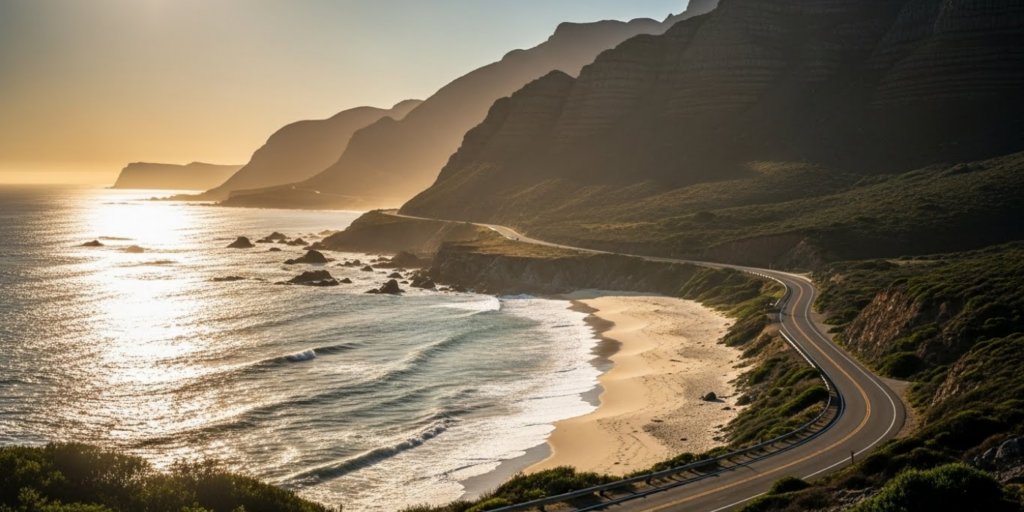
Light is the soul of photography. And the best part? The most flattering light is absolutely free: golden hour.
Golden hour (the hour after sunrise and before sunset) bathes scenes in soft, warm, directional light that adds depth, dimension, and mood. Shadows are long but gentle. Colors glow. Skin tones look radiant.
Avoid harsh midday sun, which creates unflattering shadows, squinting subjects, and blown-out skies. If you must shoot then:
- Find open shade (under a tree, awning, or archway)
- Use reflections (off white walls, water, or light-colored pavement) to bounce soft light onto your subject
- Shoot silhouettes against bright skies for dramatic effect
Bonus Trick: Use your phone’s HDR mode in high-contrast scenes (like a bright window indoors). It blends multiple exposures to preserve detail in both shadows and highlights.
And never use the flash for outdoor travel photos—it flattens your image and kills natural ambiance. Trust the available light instead.
Composition: Simple Rules That Make a Huge Difference
You don’t need to memorize complex theory. Just master these three beginner-friendly composition techniques:
1. The Rule of Thirds
Imagine your screen divided into a 3×3 grid. Place your subject along one of the lines or at an intersection point. This creates balance and visual interest. Most smartphones have a grid overlay in camera settings—turn it on.
2. Leading Lines
Use natural lines—roads, fences, shorelines, or rows of lanterns—to guide the viewer’s eye into the photo. This adds depth and draws attention to your focal point.
3. Frame Within a Frame
Shoot through windows, arches, doorways, or tree branches. This adds layers and context, and makes your viewer feel like they’re peeking into another world.
Also:
- Get low or high—shoot from ground level for dramatic scale, or from a balcony for a bird’s-eye view
- Leave negative space (like sky or water) to create minimalist, calming compositions
- Shoot details—textures, patterns, colors—that reveal the soul of a place without showing its name
As photographer Elliott Erwitt said: “To me, photography is an art of observation. It’s about finding something interesting in an ordinary place.”
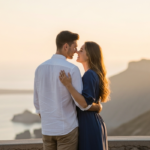
Tell a Story—Beyond the Landmark
The most memorable travel photos aren’t just pretty—they’re emotional. They make you feel something: wonder, nostalgia, curiosity.
To create that impact, show life, not just locations. Capture:
- Local interactions: A vendor handing you fruit, kids playing in a fountain
- Your hands in the scene: Holding a map, stirring coffee, touching ancient stone
- Unexpected moments: Rain on a temple roof, laundry drying between buildings, a cat napping in a sunbeam
Avoid “checklist tourism” photos—you know the ones: stiff pose in front of a famous site, back to the camera, no context. Instead, show how you experience the place.
Example:
- ❌ Standard: You standing in front of the Colosseum
- ✅ Storytelling: Your hand holding a gelato, with the Colosseum softly blurred in the background—you’re living, not just visiting
Pro Tip: Take a “day in the life” series: morning coffee, midday market, evening stroll. Together, they tell a richer story than any single post.
Editing: Enhance, Don’t Overdo It
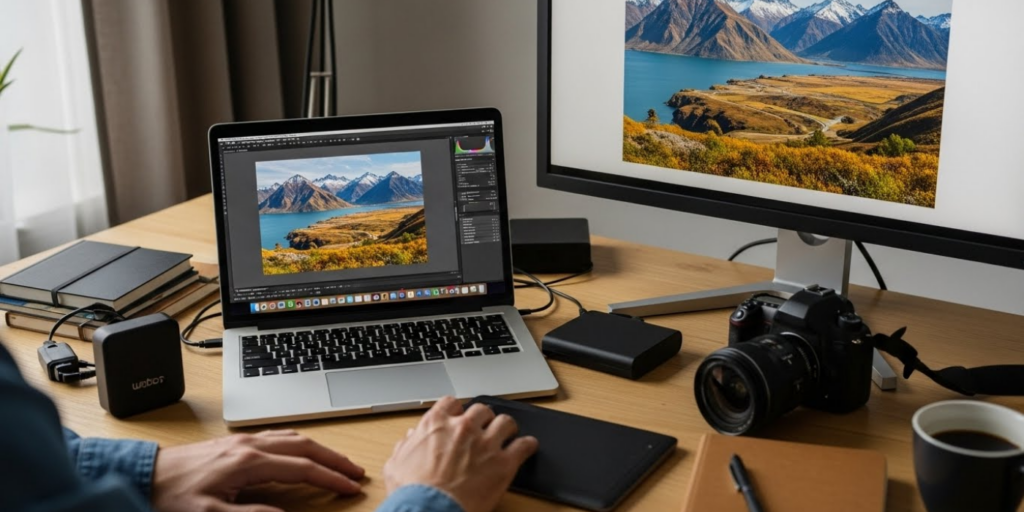
Editing is where good photos become great—but less is more. The goal isn’t to make your photo look fake, but to bring out what was already there.
Best Free Apps:
- Snapseed (by Google): Offers precise control over lighting, color, and focus
- VSCO: Great film-inspired presets with subtle tones
- Adobe Lightroom Mobile: Professional-grade tools, free for basic use
Simple Editing Workflow:
- Crop & straighten (use the grid!)
- Adjust exposure (brighten shadows, tone down highlights)
- Boost clarity or texture slightly (adds crispness without harshness)
- Tweak white balance if colors look too cool or warm
- Avoid heavy filters that oversaturate or add unnatural vignettes
Golden Rule: If someone says, “Wow, great editing!”—you’ve probably gone too far. The best edits feel invisible.
Also, save your original photo before editing. You can always revisit it later with fresh eyes.
Final Thoughts: Capture Moments, Not Just Views
Creating Instagram-worthy travel photos isn’t about chasing likes—it’s about honoring your journey. The world is full of beauty, but the most compelling images come from presence, curiosity, and human connection.
So put down your phone sometimes. Breathe in the air. Talk to a stranger. Then, when you do pick it up, shoot with intention. Capture what moves you—not what you think will impress others.
Because the photos that resonate most aren’t the ones with perfect lighting or trendy angles. They’re the ones that say, “I was here. This mattered to me.”
What’s your favorite travel photo you’ve ever taken—and what made it special? Share your story or a tip in the comments below! We’d love to see the world through your lens.
James Anderson is a passionate enthusiast of travel, fine dining, financial freedom, and personal performance. Always seeking new experiences and challenges, he believes in living life fully while continuously improving himself. For James, exploring new destinations, savoring unique culinary experiences, and striving for independence are not just hobbies—they are a lifestyle built on curiosity, growth, and the pursuit of excellence.